Colour
- Getting started
Training
Color is a Powerful information vector in Forge. It allows you to Prioritize visually elements, to distinguish functional areas, to improve the overall readability of a map and to give it a Clear graphic identity. Thanks to a customizable material system, it is possible to assign colors, textures or effects to each component: areas, structures, 3D models, and general environment.
This chapter explores the main features related to coloring:
- The Creation and management of materials.
- L’Assigning Materials to Objects.
- The Changing visual styles environment.
- And the options for fine-tuning 3D models.
By mastering these tools, the user can turn a raw map into a Rich, consistent and expressive visualization, adapted to its context of use or target audience.
Prerequisites
- Have Forge installed
- Have launched Forge connected to the target organization where the card will be stored.
- Have knowledge of the Forge interface and the role of its different parts.
- Have created and posted a map.
- Have created content.
The "Edit Styles and Zoom" menu allows you to create and modify the different materials used by the elements of the map.
Creating a material
To create a material, click on the corresponding +.
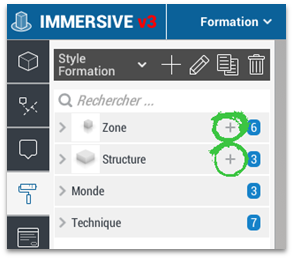
Then name it.
It now appears in the list of materials.
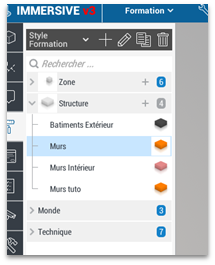
By clicking on it in the list, it is then possible to change its properties in the right banner.
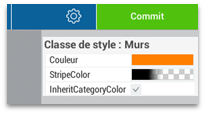
It is also possible to modify the material parameters of a selected area or structure through the parameters on the right banner of the interface in map editing.
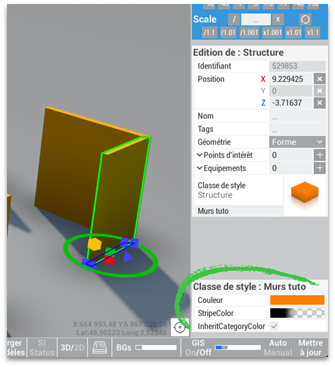
Assign a material
Click on the thumbnail of the material used to open the list of available materials and select the chosen material.
Environment
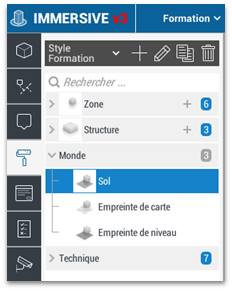
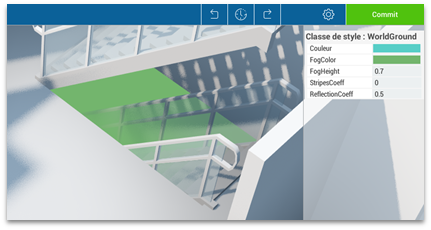
To change the colors of a map's environment, you need to go to the style edit, then to the world category and select the Ground material.
The "Color" field defines the surrounding color of the world
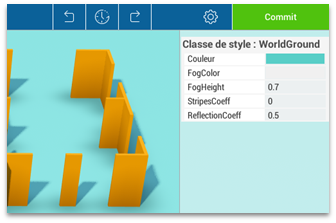
The "Fog Color" field allows you to tint the void areas generated by the "Hole" parameter of the areas.
3D Model
Change the default colors of a 3D model
To change the default colors of an object, you need to go to the template manager.
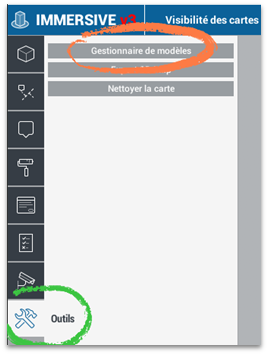
Select an object.
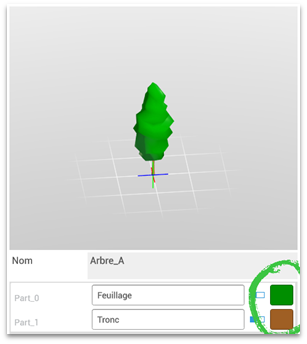
The fields on the right allow you to set the default colors. Please note that this change will apply to all maps on the server using this model. If the colors need to be changed for the current map, it is best to use a style.
Style a 3D model
To apply a different color set than the default color to a 3D model, you must first create it in the Edit Styles and Zooms by clicking on the +, then naming it.
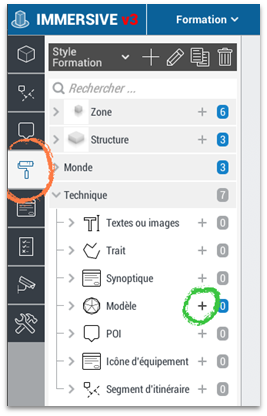
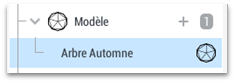
Once created, you have to go back to the map creation and add/select the template.
In the right panel, click on the thumbnail of the style class and select the new style.
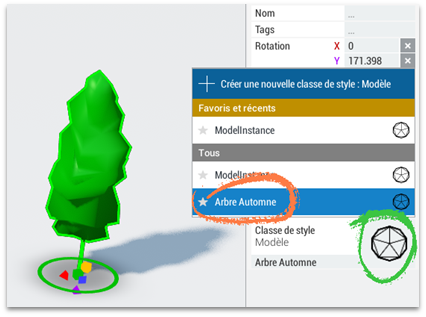
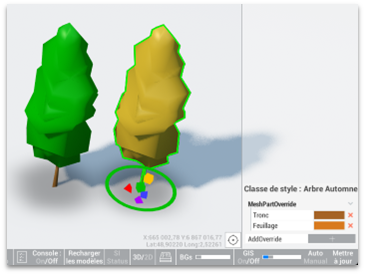
In the lower part of the right panel, the MeshPartOverride offers by default to add the different parts of the model to the current material. To change the colors, simply click on the + of the part concerned to add them to the current style.
It is now possible to change the color from this new style, without affecting other identical objects that do not have this style. Whether in the active map or in other maps on the server.
Objects crossing floors
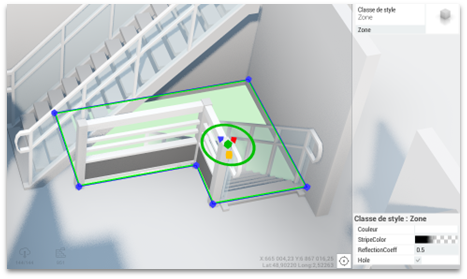
Zone materials have an additional "Hole" parameter that allows you to represent a void zone.
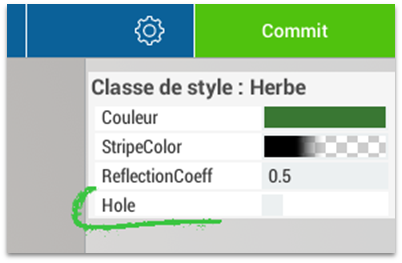
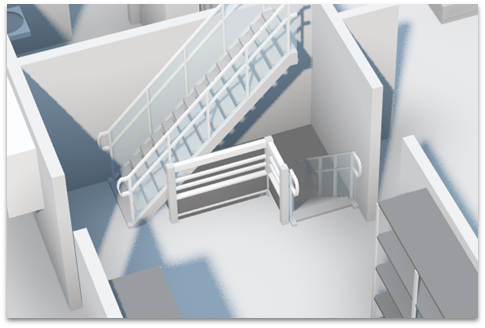
To represent a staircase that would go down to the lower floor, you need to add a staircase and position it in the map.
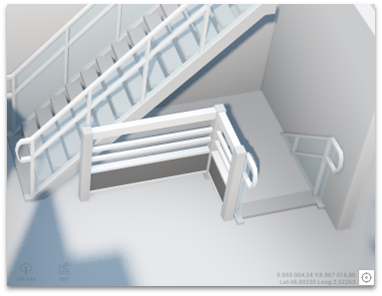
Then add an area to the top of the layer stack with a material that has the "Hole" enabled.