3D models.
- Getting started
Training
The 3D models play a key role in the visual and functional enrichment of Forge cards. They make it possible to represent in detail Concrete physical elements : furniture, technical equipment, vegetation, machinery, etc. Far beyond simple aesthetics, their presence facilitates the Understanding improves immersion, and allows simulate real uses in the modeled environment.
This chapter presents the different Steps for using 3D models in Forge:
- Their Placement in the map.
- Their Handling (move, rotate, scale).
- L’Visual optimization thanks to the variation of shapes and styles.
- L’Importing new objects in the library.
Properly mastered, 3D models make it possible to move from a block diagram to a Vivid and realistic mapping.
Prerequisites
- Have Forge installed
- Have launched Forge connected to the target organization where the card will be stored.
- Have knowledge of the Forge interface and the role of its different parts.
- Have created and posted a map.
3D models can accommodate equipment, improve the graphic quality of the map and allow a better perception of the environment. You can identify a part much more quickly when you see its contents.
Place a 3D model in the map
To add a template to a map, you need to use this tool:.
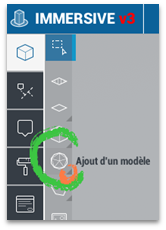
The small arrow at the bottom of the tool icon indicates that if you right-click on the icon, settings are accessible.
Here is the choice of model, as well as a search field.
Activating the star next to an item in the list allows you to bookmark it and access it more easily later.
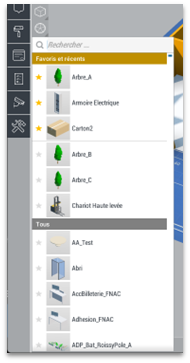
Once the model has been chosen, it must be placed in the map by a left click. As for areas and structure, the tool offers to position several of them by multiplying the left clicks with the mouse. Once the desired number has been reached, a right click of the mouse allows you to exit the tool.
Moving a 3D model
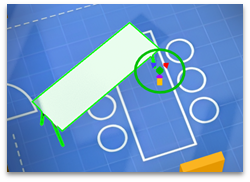
To control and set up a 3D model, you need to use the gizmo located at the pivot point of the object.
To move a 3D model (same for area and structure), you have to use the green cube in the center of the gizmo.
It is also possible to use the keyboard shortcut g to move the item.
Once the keyboard shortcuts g used, it is possible to press x, y or z on the keyboard, to constrain the movement on an axis.
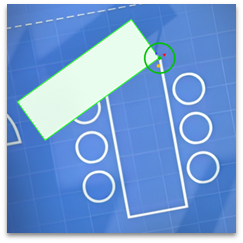
Rotate a 3D model
To rotate this object, you need to use the green circle of the gizmo.
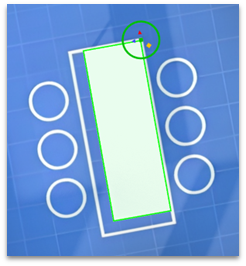
It is also possible from the interface to apply a rotation on the selection according to a predefined angle.
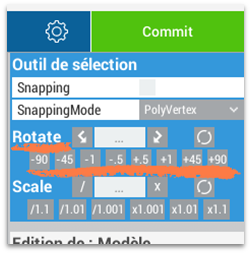
The keyboard shortcut to rotate the current selection is r. Once the shortcut is used, it is possible to enter a value on the numeric keypad to numerically define the rotation.
Scale a 3D model
The yellow cube of the gizmo allows you to scale an object in a uniform way.
The scaling shortcut is e.
To stretch an object along a particular axis, such as for moving, following the shortcut e It is possible to press x, y or z on the keyboard to constrain along an axis.
In this case on the X axis, then Z, the table is already at the right height. (Y-axis)
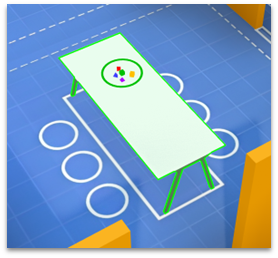
Special case of duplicated objects such as trees.
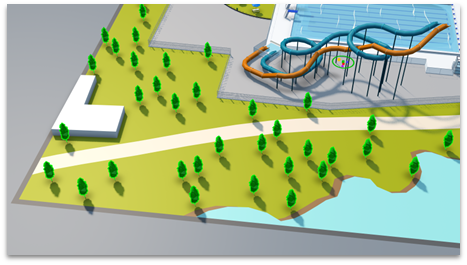
For trees and other mass duplicate objects, adding a certain number allows you to dress up a map but the rendering can be improved easily to cut the duplicate print.
Start by adding/selecting trees:
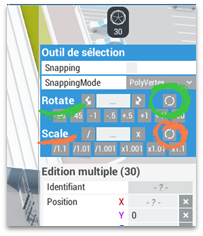
It is first possible to apply a rotation as well as a slight random scale variation on all these trees by pressing on the circles in the right panel to break the resemblance.
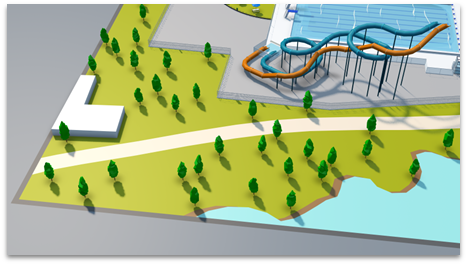
Then, if several variations of the model are available, you must deselect some of the trees, then replace their source model with an alternative.
Then to repeat with the 3rd variation.
And thus obtain a more varied menu.
Import a 3D object.
Managing templates happens in the Tools menu, click on Template Manager.
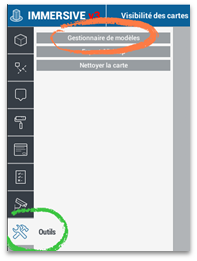
Then Import Templates.
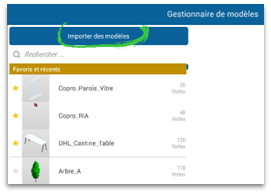
After selecting the templates to import, they appear in the listing on the left.
The model will then be temporarily present in the local library. To keep it, you need to commit the changes.